Adding stages into your Maestro workflow is one of the core tasks to complete at the start of your workflow. This is true for all workflows in Maestro.
All the tasks in that are in Maestro are held in different stages. When you open any workflow, you are automatically given the “Open File” stage which holds all the tasks you would need at the start of a contract.

As you progress through the workflow you will be prompted to add in additional stages as you need them. Most workflows will have their first task that will ask you to add in stages if you have a conditional contract, you will also add in stages when you contract goes unconditional at which point you also add in the settlement stage.
If you have a conditional contract, the following steps will help you add in the required stages along with their tasks.
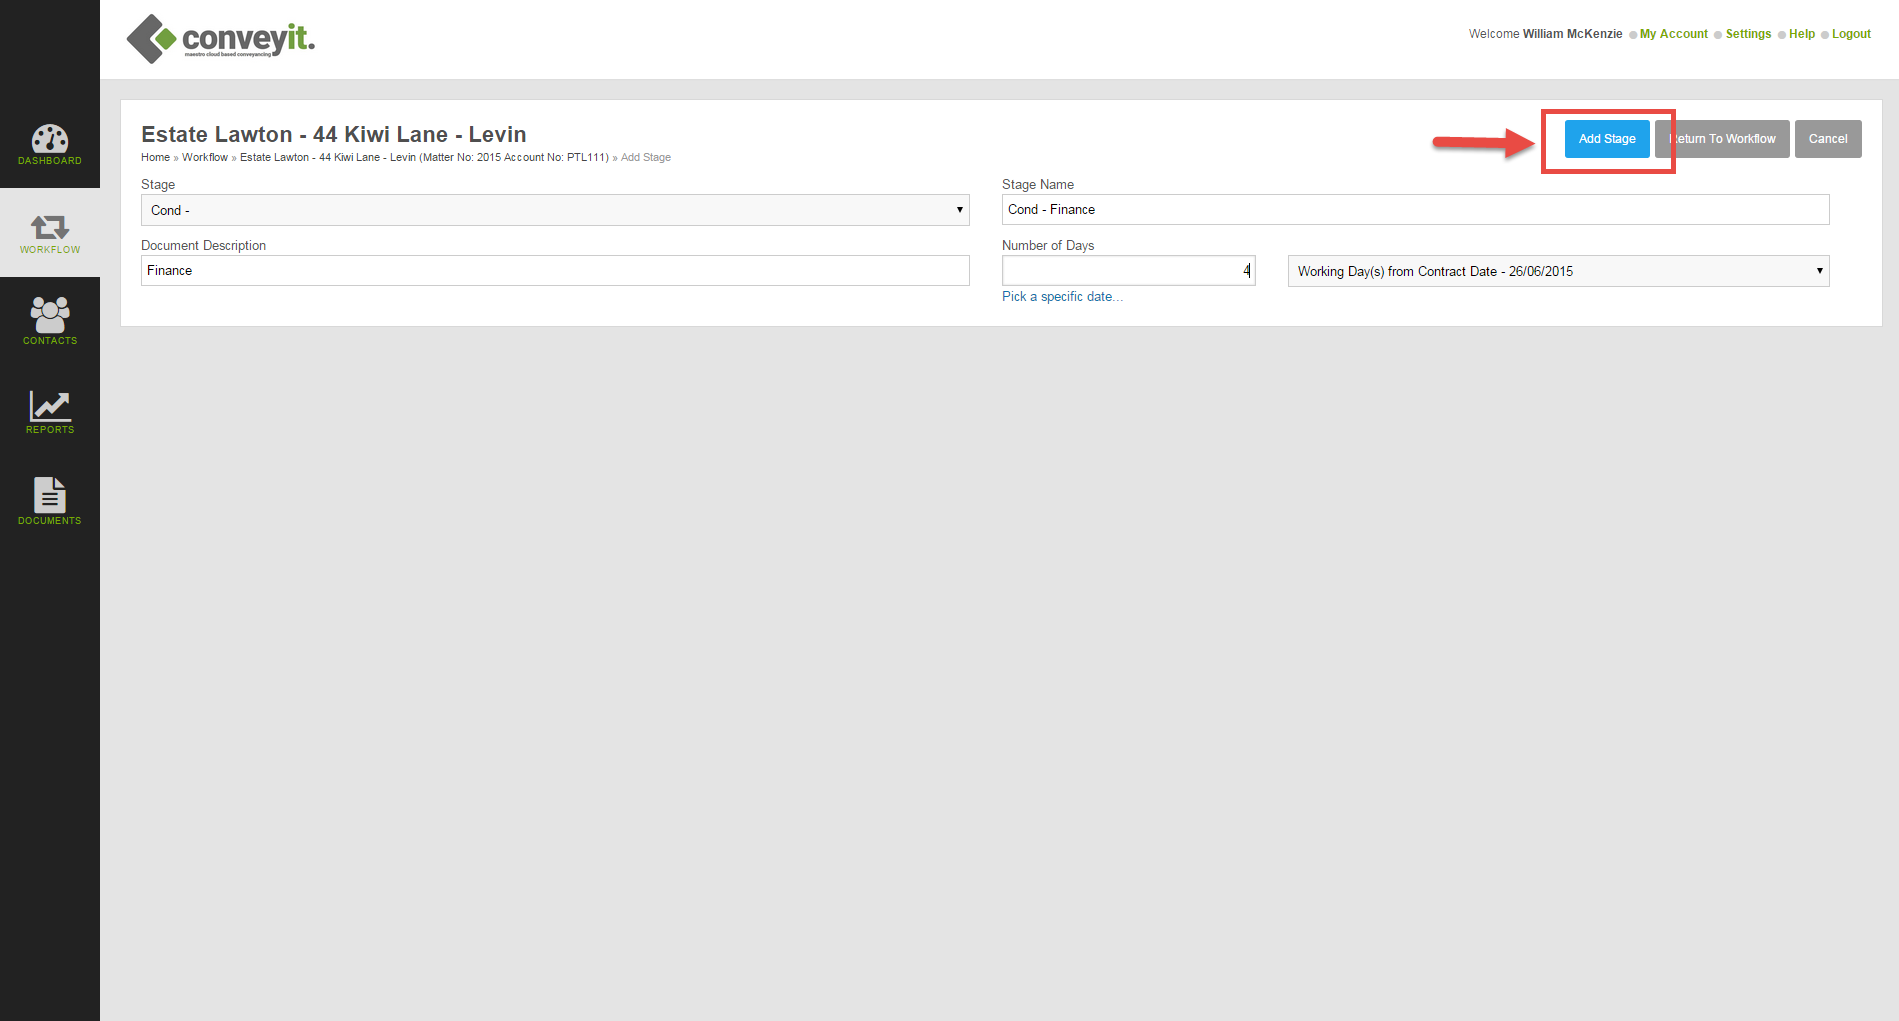
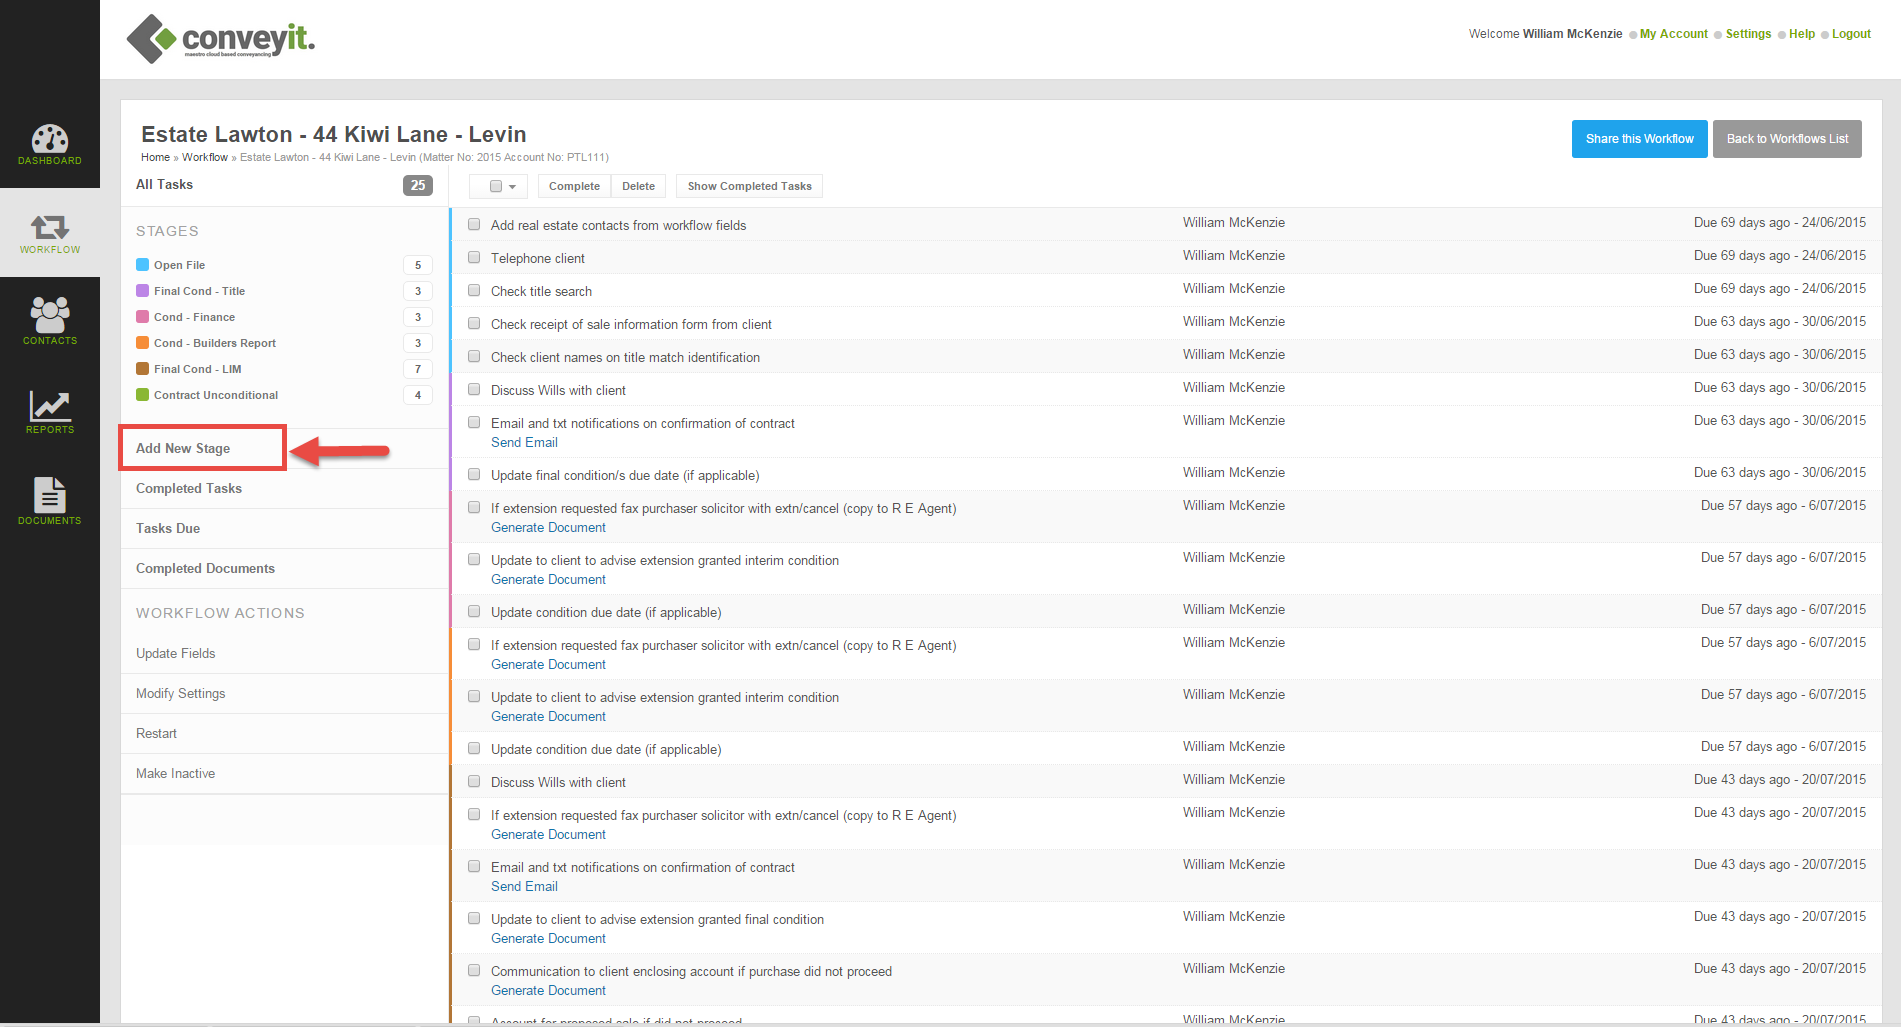
To add a condition to the workflow, select “add new stage” in the left-hand panel of the primary screen as shown below.
The stage selection screen should now appear like this:
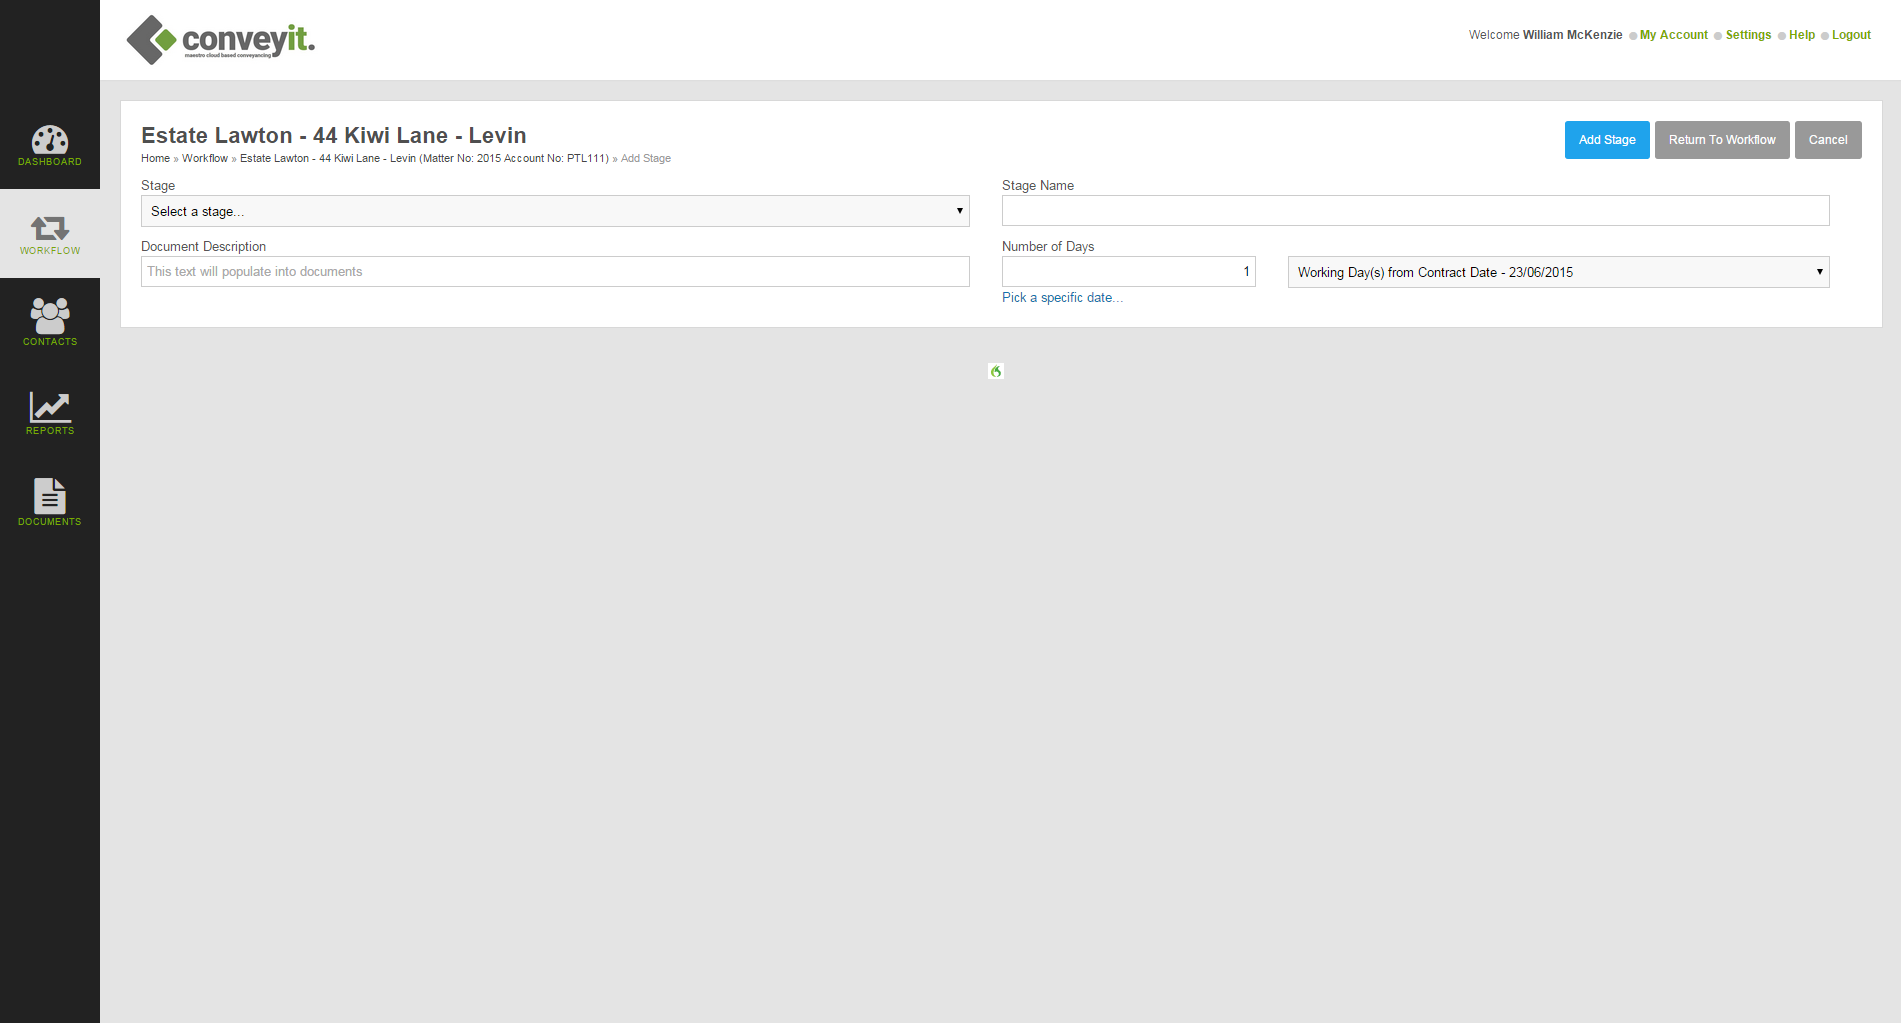
Click the drop-down box in the stage field and select the stage within the workflow that you wish to set. In the example we are setting a title condition so have selected “cond –“ from the drop down menu. Select the “stage name” field and name the stage. This is the stage name that will appear in the workflow. Now select the “document description” field and describe the stage in the way that you want it to appear in correspondence with your client and other parties.
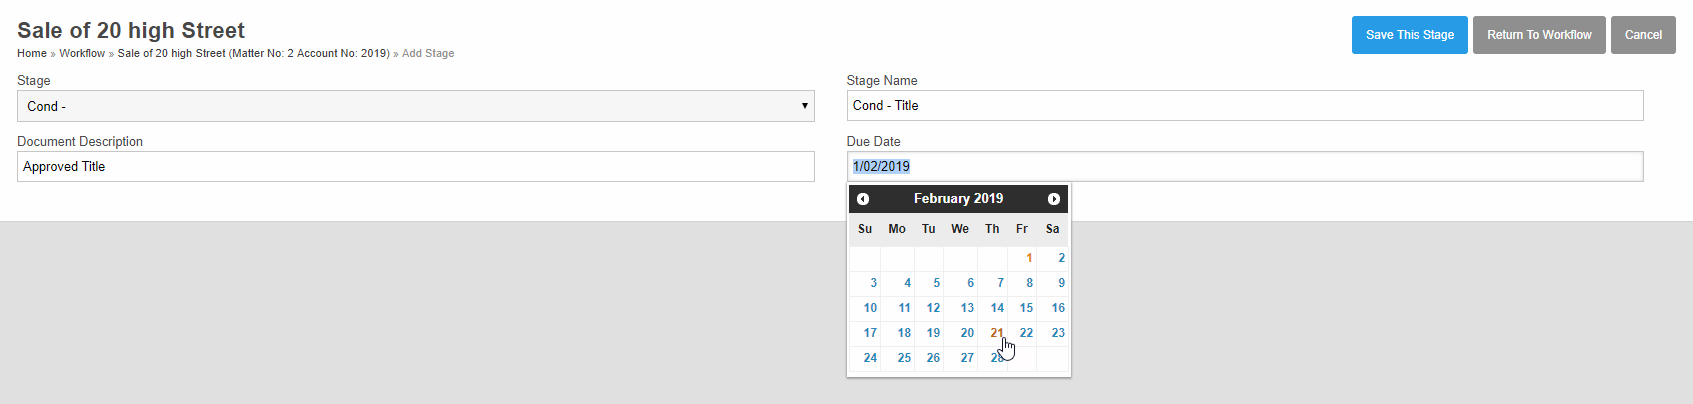
Now select the expiry date for the condition. You can do this in two ways:
- you can set the number of days allowed for the condition, or
- you can choose the date the condition expires.
To do 1 above, simply type in the total number of days allowed for the condition in the “number of days” field. Alternatively, to set a date that the condition expires, click on “pick a specific date” which appears in blue below the field. The field will change to a date and you can either enter the date directly into the field or use the date picker calendar provided. You will note that in either method, as you change the date or the number of allowable days the target date in the box to the right changes on the basis of your selection. The default setting is working days but you can change this to calendar days by simply selecting the drop down on that field and changing it as required.

Or

Then use the calendar to select a date
Once you have entered all the data into the applicable fields you should choose to add the stage by clicking blue “add stage” which is located in the top right-hand corner of the stage import screen.